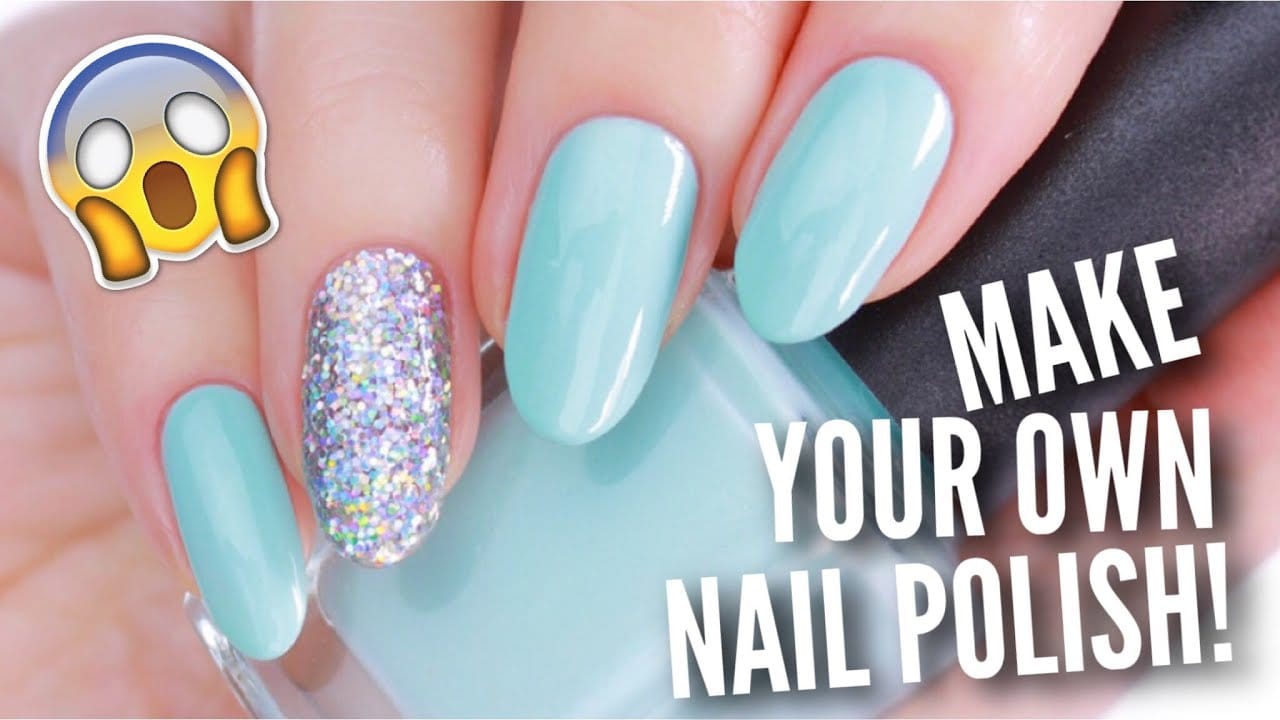
Have you ever wished you could create your own unique nail polish colour? Maybe you’ve searched for the perfect shade but couldn’t find it, or perhaps you want to match your favourite lipstick or dress. Whatever the reason, creating your nail polish can be a fun and rewarding experience.
Table of Contents
What You’ll Need
- Nail polish base (available at most beauty supply stores)
- Pigments (choose your desired colour)
- Nail polish thinner (optional)
- Glass bottles and brushes
Choosing Your Color
Select a pigment that’s safe for use in nail Polish.
Consider the colour you want to achieve and choose a pigment that matches
Mixing Your Polish
- Start with a small amount of base (about 1/4 teaspoon)
- Add a few grains of pigment and mix well
- Gradually add more pigment until you achieve the desired colour
Thinning Your Polish (Optional)
If your polish is too thick, add a few drops of thinner
mix well and test the consistency.
Bottling Your Polish
- Use a clean glass bottle and brush
- Label your bottle with the colour name and date.
Additional tips
- Experiment with different pigments and combinations
- Add glitter or other effects for extra flair
- Consider making a small batch to test the colour before scaling up
Conclusion
Creating your nail polish is a fun and creative process that allows you to unleash your inner artist. With these simple steps, you can create a unique colour that’s all your own.


